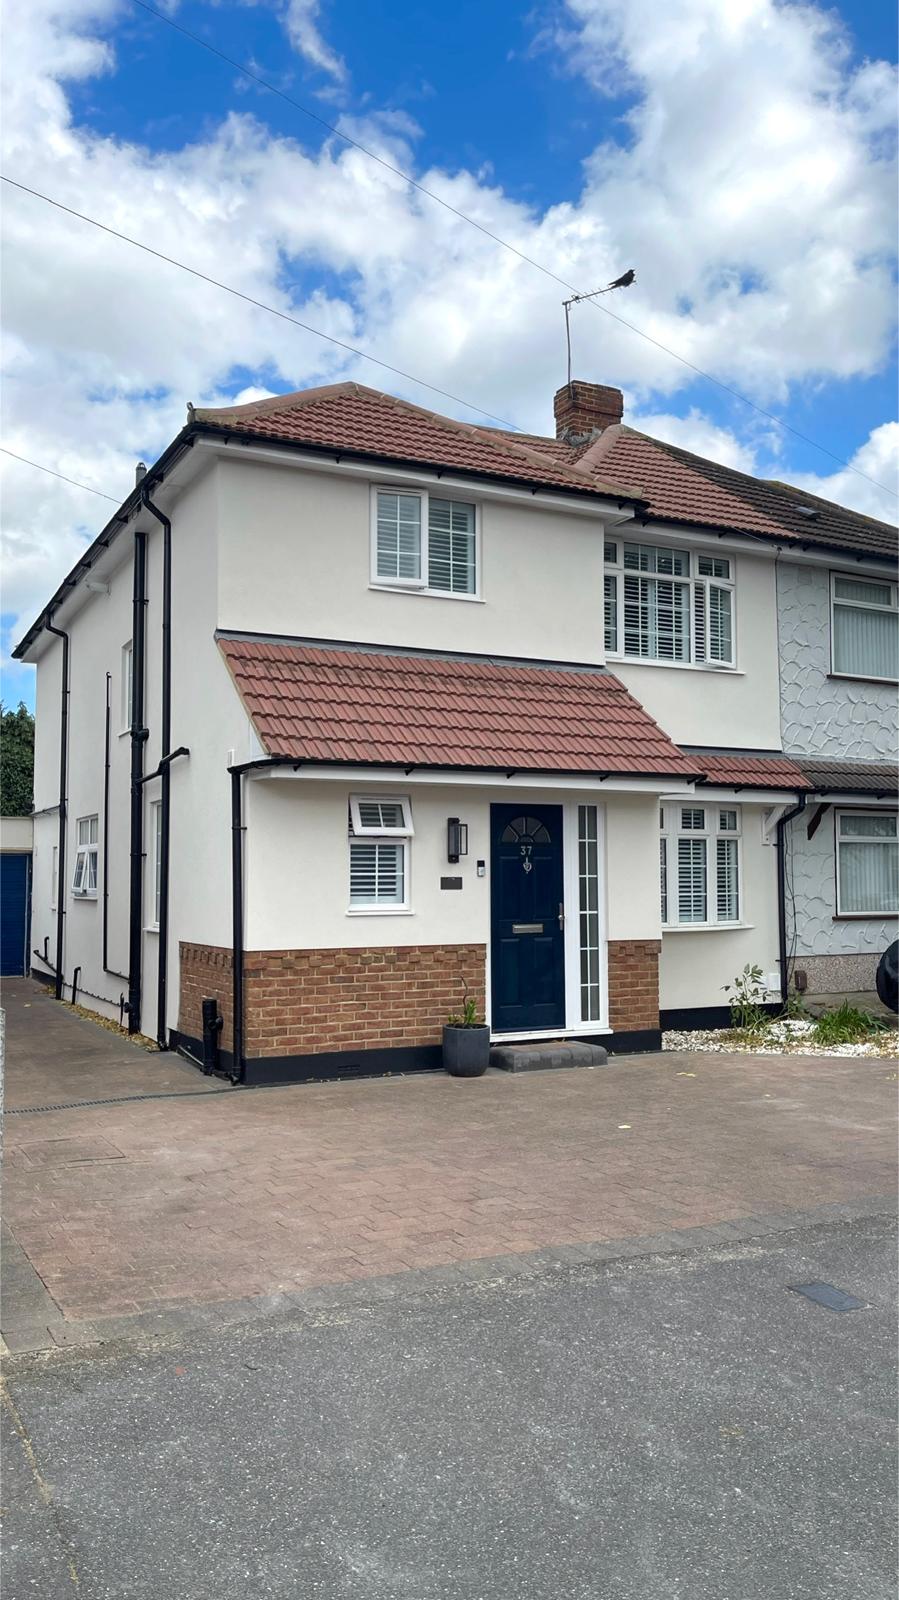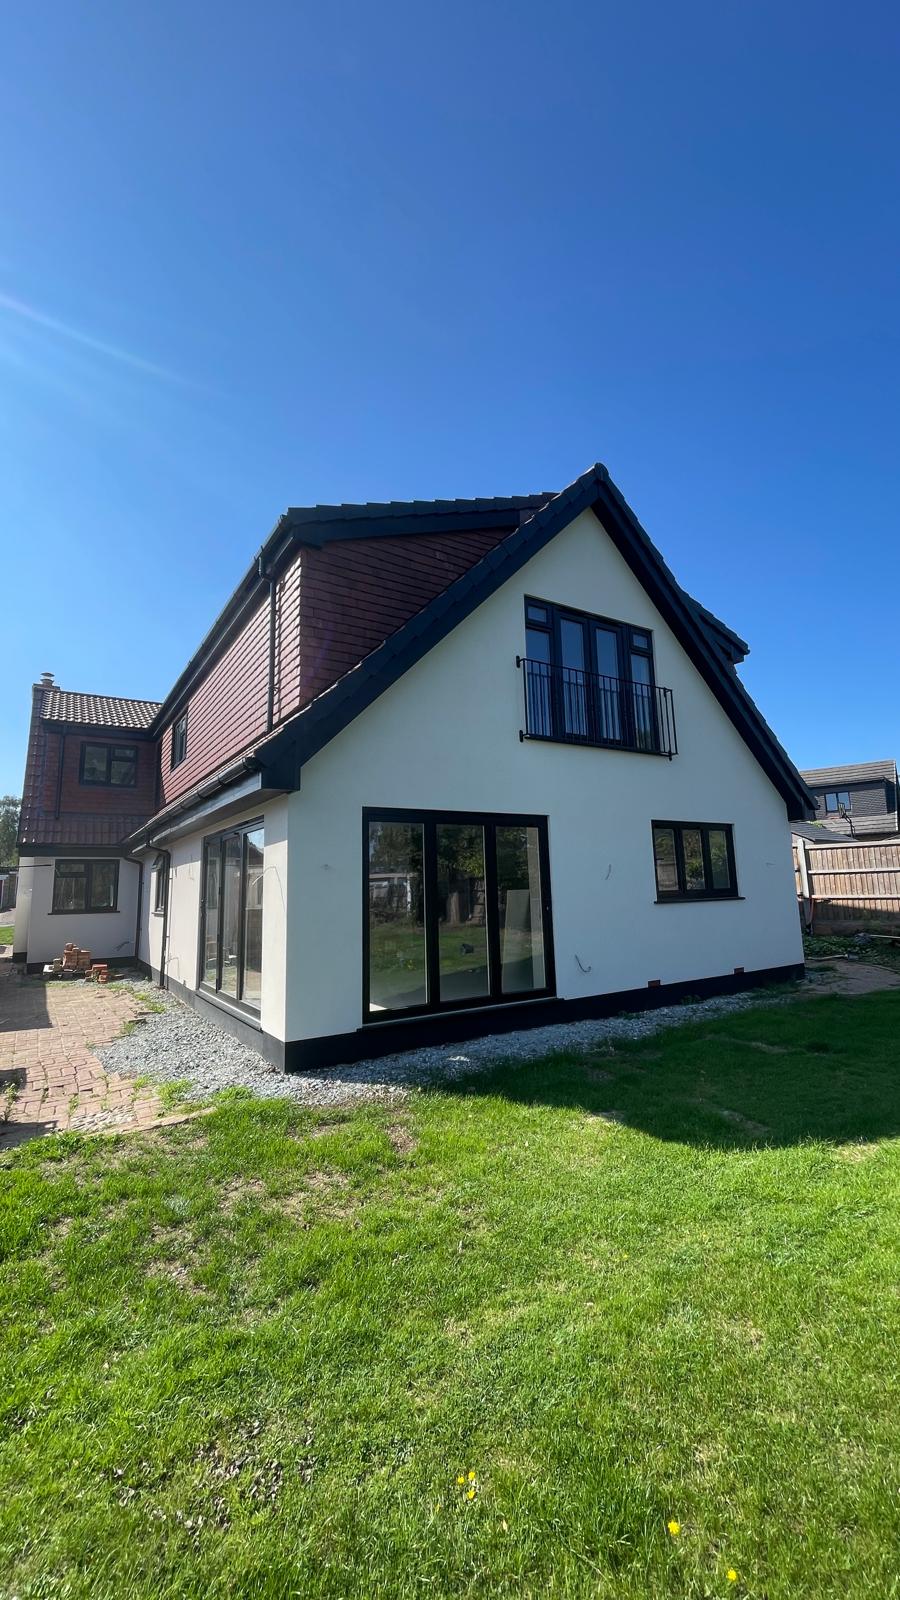

1. VISUAL INSPECTION
At Essex Plastering Solutions, a visual inspection is carried out of the areas that the customer wishes to insulate, when insulating an older property we can often find that the old render/pebbledash is not suitable to take more weight, so chopping off is often the best option.

2. FIXING THE STARTER RAIL
This is a lightweight metal rail which is fixed to the substrate, giving us a level starting point for fixing Insulation boards.

3.FIXING INSULATION BOARDS
These boards come in a wide variety of thicknesses, we fix these using a @baumit_uk mineral based adhesive (star contact).

4.FIXING PLUGS
This is a mechanical anchor fixing between the insulation board and existing substrate. A Full board should have 5 fixings.

5.RASPING BOARDS
We ensure all gaps are filled using expanding foam to prevent heat loss and we use a rasp to ensure boards are flat.

6. BEADING UP AND STRESS POINTS
Plastic beads are used around doors, windows and edges to give a nice sharp, straight edge to work to. Once this is completed we then reinforce areas around windows and doors with fiberglass mesh as these are the areas that are most likely to crack due to movement, commonly known as stress points.

7. Basecoat and Mesh
This is where the rendering begins, once again we use @baumit_uk star contact mineral adhesive, we apply this at 5mm, add fiberglass reinforcement mesh to prevent cracking.

8. Skim Coat
This is a tight coat at 1mm, this closes inn the mesh and we then use a @refina diamond float to produce a flat closed finish render.

9. Silicone Render Application
Once a coat of Primer has been applied to the basecoat render we can then move onto the final stage, application of coloured Silicone Render, this can be sprayed or hand applied for a texture finish.

10. Clean Down and Mastic Sealants
All protective tapes and films are removed from all areas.
Then all doors/windows/sills/soffits are sealed to prevent water ingress and heat loss prevention.


